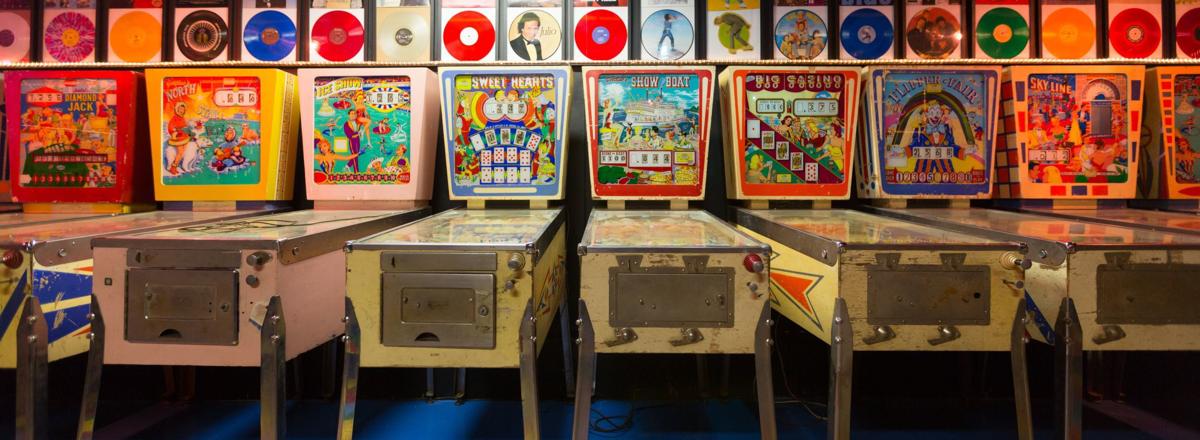
I’m restoring a Bally Hang Glider Electro-Mechanical (EM) pinball machine released in December, 1976.
This forty plus-year-old machine has seen about 40,000 game plays in its lifetime and no doubt found itself in countless bars, arcades and basements.
I bought it cheap from a guy who had stored it under a barn for a while so it has some water damage, paint chipping and the playfield is worn down to the wood in some spots..
I follow long-time pinball legend “Cliffy” (passionforpinball) method of restoration as shown in this blog post:
http://www.passionforpinball.com/jjresto2.htm
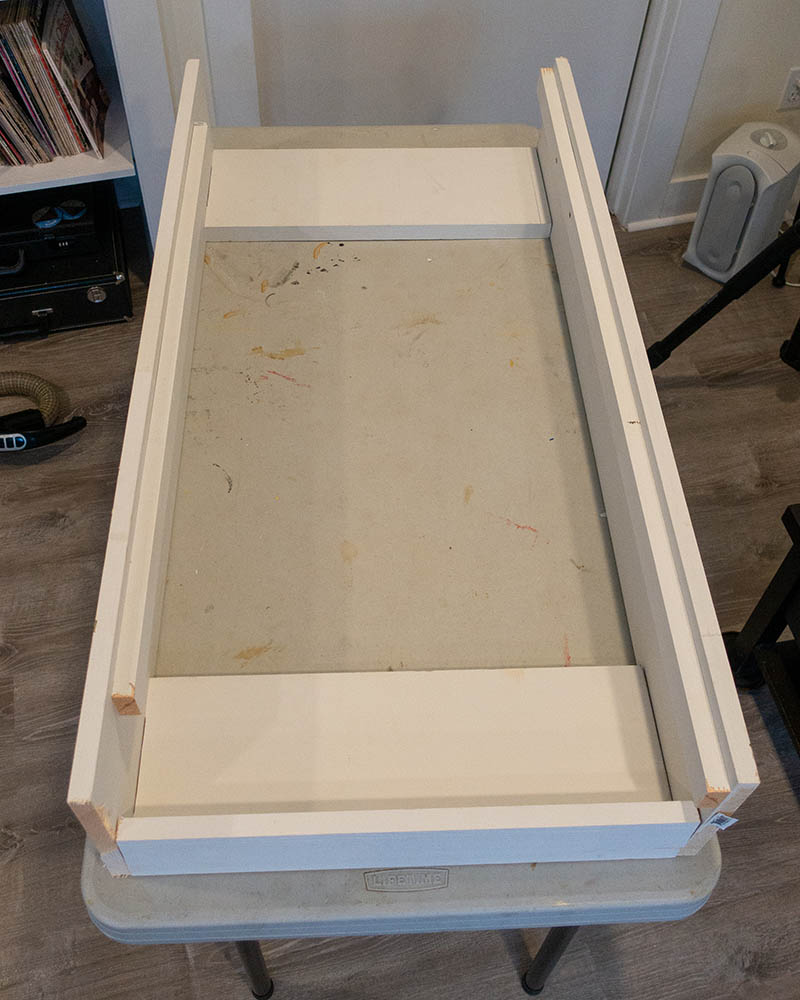
1. Build a tabletop frame to hold the playfield level.
I used scrap lumber to build a sturdy frame to hold the playfield outside of the original cabinet and to keep it level.
2. Carefully remove and store the playfield elements
I took off most of the playfield elements. Keeping the elements intact and just dropping them below the playfield.
- Take lots of photographs
- Carefully remove various elements and store them in labeled ziplock bags.
3. Tumble polish metal pieces
I use an ultrasonic cleaner and tumbler made for polishing bullets to tumble polish small metal pieces.
I use this inexpensive vibrating tumbler with dry media. Crushed walnut shell for knocking off rust and dirt and then treated corn cob media for achieving a mirror-like polish.
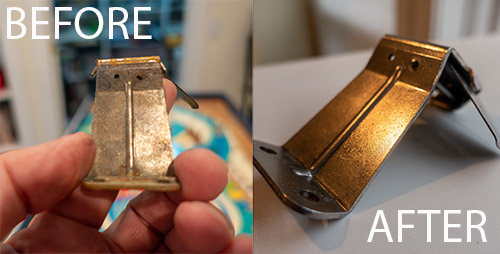
The corn cob media works fast but does tend to get stuck in certain spots such as screw heads. You might have to clean out spots with the tip of an Exacto knife.
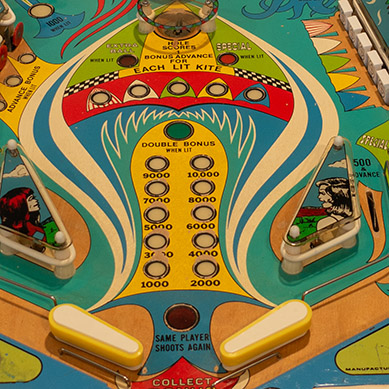
4. Cleaning the playfield
Use a Magic Eraser and 91% Isopropyl alcohol to clean the playfield of old wax, grime, dirt, and grease. Have plenty of microfilter cloths handy.
Warning: the metal apron is printed with splatter paint which can easily be damaged. Test in an unseen stop. My suggestion is to use nothing but mild soapy water. Don’t let alcohol touch the paint! Alcohol will dissolve the paint on the apron.
5. Touching up the paint
Using craft paints I did my best to color match and fill in any chipped areas especially around the cupped inserts. You can use a clear sheet of plastic to test out colors. Put a bit on the plastic sheet, let it dry and then compare it to the playfield.
Over time inserts sink in, wear off or evaporate and the remaining cupped areas trap balls in play. They also expose the edge of the wood where the ball hits and chips off paint.
I use Rustoleum Gloss Black to paint the missing black areas around the inserts.
WARNING: DON’T USE A SHARPIE MARKER FOR BLACK LINES – it ends up running when the clearcoat is applied.
6. Filling In the Inserts
I used a plastic spoon to drip Minwax Polycrylic gloss clear or liquid Varathane to fill the dished inserts. Just drip in about three drops or so and then take the end a paintbrush or toothpick and spread out the edge.
Let it dry and then add more if needed. Keep in mind that as it drys, it gets a lot smaller so overfill and then we’ll sand it down later.
It took me about three days to build up my inserts using this method.
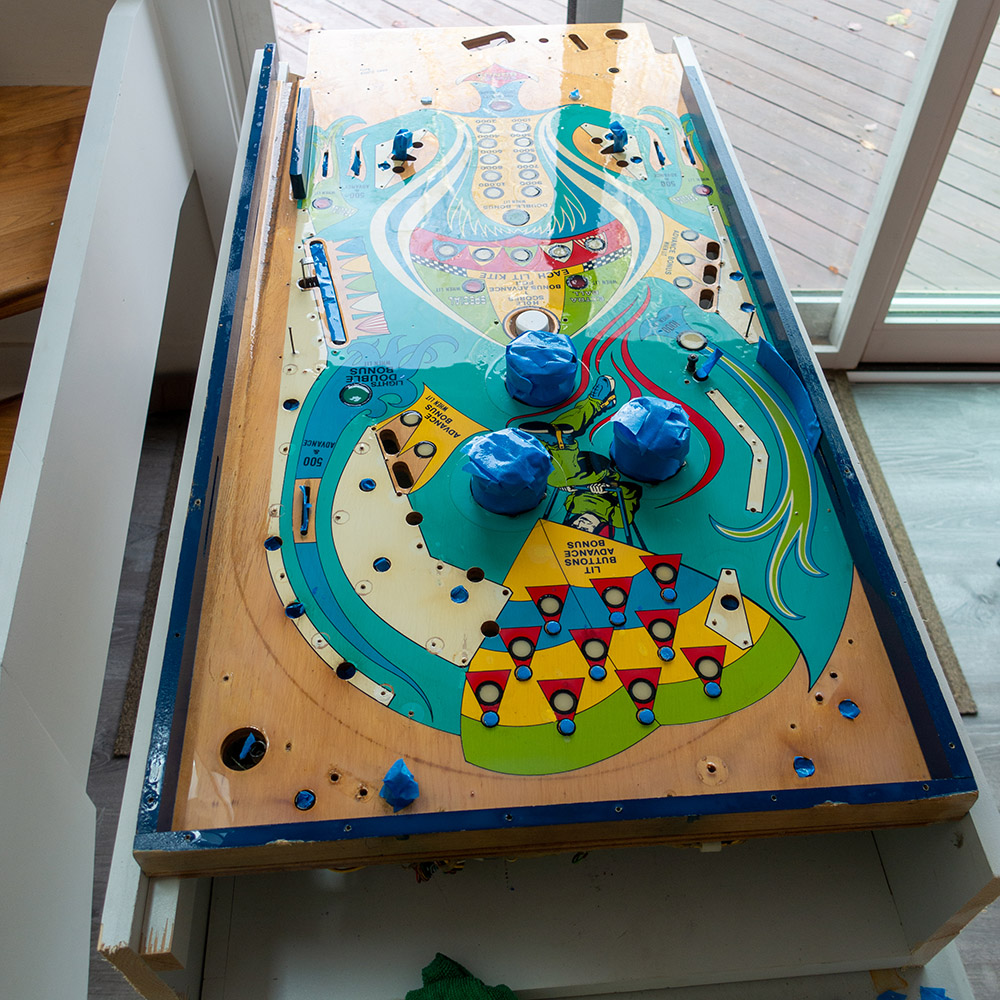
7. Spray a thick coat of Varathane
After removing playfield elements, dropping down targets under the playfield and covering any remaining elements with painting tape, I sprayed a thick layer of glossy water-based indoor Varathan on the playfield, once going top to bottom and another pass going side to side.
Note: I did not remove the pop bumpers but covered them with painter’s tape. I also put a plastic cap from an alcohol bottle over the bonus hole.
8. Sand down the high spots
After drying overnight, I could now safely sand down the high spots around the inserts. Using a wood or rubber sanding block I lightly sand and check with a straight edge. High spots will be dulled, low spots will stay shiny.
I ended up filling in a few more low spots and then repeated the process of sanding and then spraying.
9. Final sand and buff with a clearcoat polish
The final step is a final sanding with very fine sandpaper such as 4000 grit and then buffing to a mirror-like shine with car polish (non-petroleum based). This will take out the tiny scratches left by the sandpaper.
10. Wax and Buff
I use a high-end car wax such as this one. Wipe on, allow the softners to dry and then buff to a high shine.
Check out my next vintage pinball restoration project – a 1972 Gottlieb World Series Add A Ball – https://www.dogfordstudios.com/pinball-restore-project-1972-gottlieb-world-series/
[…] Clear coated the playfield filled in the inserts. Details – https://www.dogfordstudios.com/pinball-restoration-playfield/ […]