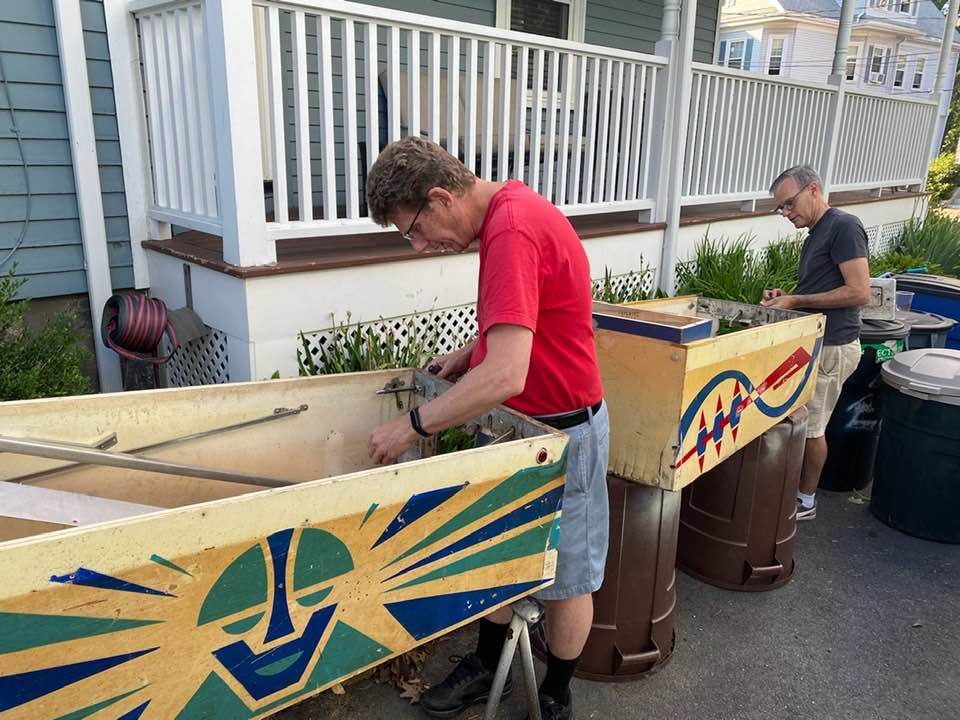
I’m more of an artist i.e. visual person with an interest in logic, programming and mechanical action – but I’ve never been one to totally grasp concepts like programming languages or auto repair. I get the idea of these concepts but it never comes easy.
Can someone with limited electronic knowledge and skills fix a vintage pinball machine? Well, I’ve managed to do it a number of times now using online resources, some help from friends and basic troubleshooting skills.
A non-technical person can figure out a lot by simply observing the operation of the relays and even tracing the color-coded wires to see how the various switches connect. One can move relays and bonus units by hand to see if they are working properly and even trigger relays to try to narrow down the problems.
The first thing to remember is safety. Remember, there are a lot of different voltages running around inside a pinball machine. You can get zapped, short out a fuse or even blow a row of lights.

Before attempting to work on an old pinball machine, make sure it has a proper three-prong, grounded plug and proper grounding.
Work on the machine with the power off and unplugged. If you need to poke around inside with the power on to test a switch or relay contact – use a wooden skewer.
When you first take a look inside a vintage pinball machine the 400 plus contact points will be overwhelming but get the schematics for the machine and start familiarizing yourself with the information on the schematic and identifying the various components.
Typically you’ll come to own a machine that is either in totally unknown condition or one that “used to work” but now doesn’t.
If the machine has sat in a storage unit for 20 years and the seller has no idea what condition it is in, you’ll probably want to systematically go through each relay, clean the contacts with a Q-tip and 91% alcohol or a piece of 800 grit sandpaper.
Take your time. Remove the relay board, sit down and go through every rely. Clean the contacts and inspect every switch for proper condition. Some are NC or Normally Closed. Some will be NO or Normally Open. Others will be Make/Brake – having two states. Either touching one contact or the other depending on if the coil is activated.
Look for loose wires, blobs of solder that might have fallen across a switch, blown fuses and clean contacts on bonus units with some sandpaper.
Start with the score reels as they must reset to zero before a game can start. Then proceed through the start-up sequence

“Used To Work”
With machines that suddenly stopped working, prompting the owner not to play it and eventually sell it off, it could be something simple and the machine might give clues to where the problem might be.
Stuck on or buzzing coils might indicate a broken EOS or End of Stroke switch. Looked closely at the parts that get a lot of use such as the pop bumpers. I’ve picked up two machines that had issues with the pop bumper EOS switches. As soon as one of the pops was hit, the coil would lock on. You can buy a replacement EOS assembly for under $10 from The Pinball Resource.
Also, check all the fuses near the front of the machine as well as under the playfield. If part of the machine doesn’t work such as the flippers or the GI or General Illumination lamps, it could be a blown fuse. Keep a supply of fuses with the proper rating on hand.
But if the machine blows a new fuse, you have to track down the short. Look for anything out of place, a bent contact, loose wire, something not resetting, any spot that might have been bumped out of position.

Some issues like a “machine-gunning” slingshot could simply be caused by new rubbers pulling in tight. A simple switch adjustment should fix it.
Another source of problems are the tilt switches. Pinball machines have a variety of mechanisms to determine when a player is being too rough on a machine. There are switches that start closed like the “slam switch” on the coin door, others that are triggered by a rolling ball, or swinging pendulum. Look under the playfield, on the coin door, on the relay board, and on the side of the cabinet and make sure all the switches are set properly otherwise the game will display “tilt” and never start.
EM pinball machines are built like tanks. They will keep working if they are played. they are designed to be self-cleaning as the contacts form a conductive coating.
But if they are left unplayed in a damp basement, oxidation can form on the contacts that will need to be removed. So this becomes a non-working pinball machine due to neglect rather than anything broken.
The other problem that can occur is a machine that was hacked by someone not knowing what they are doing or someone attempting to revive a machine by spraying WD-40 all over the place. Pinball machines don’t need a bunch of lubrication. The coils make a lot of black coil dust and lubricants just make this dust stick to the mechanisms. Also, things like WD-40 are flammable and there are a lot of sparks flying inside a pinball machine – so don’t use it!
Resources for fixing vintage pinball machines
- PinWiki https://www.pinwiki.com/wiki/
- Pinball Repair http://www.pinrepair.com/em/
- Pinball hobby site – Pinside – http://www.pinside.com
- The Pinball Resource (parts and info – mostly vintage pinball) – http://www.pbresource.com/
- Pinball Life (parts – mostly newer machines) – https://www.pinballlife.com/
- Marco (parts) – https://www.marcospecialties.com/control/main
- Pinball Pimps (stencils for cabinet painting) – http://pinballpimpstencils.com/
Dos and Don’t of Vintage Pinball Machine Repair and Troubleshooting
- DO – replace old warn out, non-grounded electrical plugs Make sure your machine is grounded before attempting any repairs or play.
- DON”T – work on your machine with the power on until you know what you ar doing. You can short out the lights or get shocked.
- DO – take photos of everything! Before touching or disassembling any part of the machine take lots of photos so you will know how it goes back together.
- DO – lay down a white towel to catch falling screws, springs, solder blobs.
- DO – buy a quality soldering iron.
- DO – Try to figure out and narrow the problem. Look for something that is consistently not working.
- DO – Consult the schematics and trace the problem back to a rely or score motor switch.
- DO – familiarize yourself with all of the various parts of a vintage pinball machine and understand their purpose.
- DON’T – use WD-40 or any other flammable spray on your pinball machine. Pinball machines produce a lot of sparks and can catch fire. Sparingly use a synthetic white lube on parts that rub but never on coil plungers. Keep in mind pinball machines are not made to require lubricants. Usually dirt and grim is causing parts to be gummed up.
- DO – use 91 percent alcohol on contacts. It evaporates quickly and doesn’t leave any residue.
- DON”T – use alcohol on any painted parts such as the apron! One swipe will remove paint.
- DO – tackle troubleshooting one problem at a time, otherwise you won’t know what worked to fix a problem.
- DO – examine the score reels carefully for issues. Most start up issues can be traced to the score reels.
- DO – listen and look for buzzing or stuck coils. Stuck closed switch can cause a coil to lock on, heat up and burn.
- DO – watch YouTube videos and read repair threads on Pinside to understand what can cause issues. Don’t expect to find the exact problem your machine is having – you are going to have to spend time tracing issues on your machine.
- DON’T – attempt to work on a machine with the power on. One short or touch with screw driver can blow out your lamps or a fuse.
- DO – get a non-conductive “poker” if you are trying to figure out if a switch is touching.
- DO – keep your playfield clean with Novus, wax and replacing balls when they get scratchy.
- DO – put down Mylar pop up bumper protectors. Also protect around kicker holes and around the flipper buttons.
- DO – not get frustrated. After working on an issue for a while, give yourself a break for a day or so. It’s amazing how a bit of rest from a problem can make all the difference.
- DO – keep notes of issues and tackle them one at a time.
- DON’T – attack dirt on the score reels aggressively. Some warm soapy water is all you need. The numbers are spray painted on and can be delicate.
- DO – look for broken wires and nicks in wires that could cause a short. Initial inspection should include looking at every area of the pinball machine.
- DO – get the proper tools for working on a vintage pinball machine especially a switch adjustment tool.