It all starts with that first smart task. You don’t want to get up from bed to turn on a light so you install an Amazon Echo and an Alexa controlled smart plug.
Or you add that Ring camera doorbell or a Blink security camera.
Fast forward a few months and you have Wifi controlled robot vacuums and climate controls.
How do you keep all of these devices under control? And what happens if someone visits and can’t figure out how to turn on the living room lights?
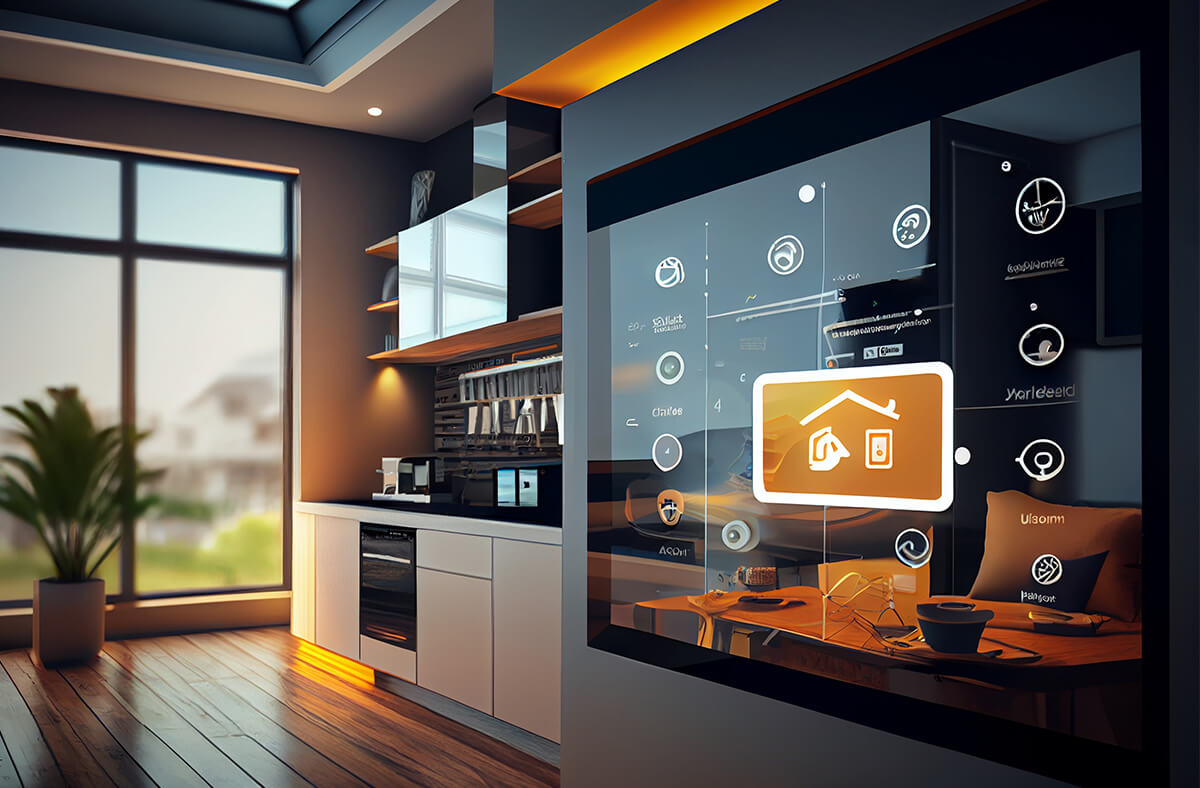
Adding a control panel to monitor sensors like cameras, thermometers, and device status plus the ablity to control lights, climate and applicances from a central hub is what Home Assistant is all about.
Home Assistant is free and open-source software for home automation, designed to be an Internet of things ecosystem-independent integration platform and central control system for smart home devices, with a focus on local control and privacy.
– Wikipedia
The basic elements of a Home Assistant set up includes:
- Home Assistant app or software
- Home Assistant server
- Dashboards (customizable interfaces) on a tablet or phone.
Other elements are add on software and the various smart devices on your network.
The Home Assistant server is the behind the scenes software and hardware that runs Home Assistant, collection and storing data from the sensors (cameras, temperature sensors, security sensors etc) as well as state information about switches – is the living room light on? Is the front door shut?
The server runs the Home Assistant software and can be a PC computer or a small single board mini computer like a Raspberry Pi. The easiest way to get set up is with a “Home Assistant Green” which is a single board computer with Home Assistant pre-installed.
All you need to do is plug HA Green Ethernet port and plug in the power supply.

Next Steps
After plugging Home Assistant Green into your network the next step is activating your account which is done from another computer on the network via a webpage.
The Home Assistant software on the HA Green device will search your network for devices and pull them into a basic “Dashboard” which by default creates two dashboards, one called Overview and one called Energy.
The dashboard is where you can control your devices and monitor status of your sensors. The dashboard can be viewed on just about any device from a mobile phone, computer or even a wall tablet.
You can create different versions of the dashboard for different devices or even rooms.
Each dashboard is made up of various “cards” which can be customized, arranged, turned off or on, placed on all dashboards or on certain ones.

You can even get custom cards made by other Home Assistant enthusiasts. Dashboards can be a few screens deep, just swipe from one to the next. Some cards can be tapped to bring up more info. Control light switches, view the weather, monitor hot water tanks, see who is at the front door and more.

As you get used to the system and want to get fancy, you can start adding routines and automations to your system such as turn on lights when the garage door opens.
Creating a Wall Dashboard using a tablet
If you want a centralized command center or even convienent way to control things in the living room, you can add a wall mounted tablet so you don’t have to hunt around for your phone.
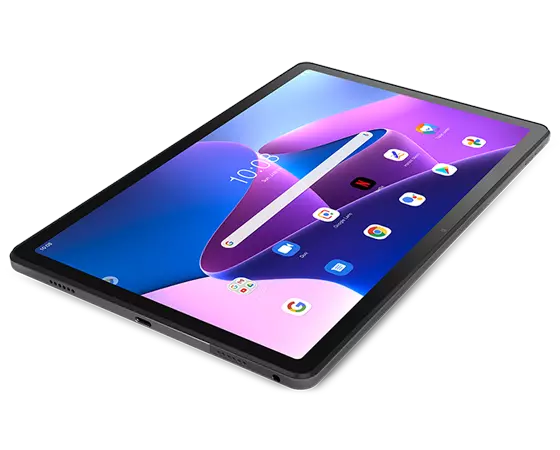
I purchased a 10-inch Android tablet for my first Home Assistant wall panel. Originally I was going to use an Amazon Fire tablet but they come with ads (or you can spend $15 more for the ad free version), a lot of bloatware and because they run on a modified version of Android, you have to fiddle around with them to get them to work.
So I went with the more straight forward Lenovo Tab M10 Plus 3rd Gen Tablet.
You can create different dashboards for different rooms and even different devices. A simplified dashboard for your phone, a more complex one for a tablet or whatever you want.
Useful Home Assistant Dashboard Cards
When you initialize Home Assistant, it will give you a basic dashboard to start with but soon you’ll want to start upgrading, customizing and expanding on the basic dashboard. Here are some useful cards to try.
Webpage Integration
I have a couple of webpages that I might want to see on my dashboard. One keeps track of our pinball scores, the other shows our solar panel production. You might want to show weather radar or news headlines.
Add a webpage to HA – https://www.home-assistant.io/dashboards/iframe/
Energy Cards
Monitor your energy usage and solar production – https://www.home-assistant.io/dashboards/energy/
Enphase Envoy – https://www.home-assistant.io/integrations/enphase_envoy/
Star Trek Fun
Stardate – entity that displays the current Stardate for Star Trek fans – https://community.home-assistant.io/t/stardate-entity/651999
LCARS theme – Mimics the look of the displays on the Starship Enterprise https://community.home-assistant.io/t/star-trek-lcars-theme/511391

HA for Carplay
CarPlay support now gives Home Assistant users easy access to their devices and areas and the ability to create custom actions. Custom actions allow users to create advanced action sequences like unlocking the front door and turning on the porch lights. And all of this works across the multiple Home Assistant servers that you have configured in the app.
https://community.home-assistant.io/t/companion-app-for-ios-2024-1-carplay-is-here/681375
What can I control with Home Assistant?
There are so many smart devices on the market that really just about anything you can think of can be controlled.
- Smart Lights –
- Smart Plugs – https://amzn.to/3TyVo5R
- Smart Button – https://amzn.to/43o97Qn
- Smart Tea Kettle – https://amzn.to/3wTs3u8
- Smart Dehumidifer – https://amzn.to/49RAPYj
Smart things that work well with Home Assistant?
Here is a list of smart things I’ve gotten to work with Home Assistant. Some worked right away, others required a bit of fiddling.
- Kasa Smart Wi-Fi Outdoor Plug (tp-link/kasa smart/matter) – I’m using this to control a Heat Trak Heat Mat I have on the metal roof near a bathroom vent which catches a lot of snow. It has two plugs. I have a Blink Indoor camera (under a covered breezeway) connected to the other outlet.
- Levoit Air Purifiers – these were very easy to connect and control. Sensors including air quality and particle count.
- WiiM Pro AirPlay 2 Receiver – I have two of these. One is connected to the whole house amp which powers speakers in many rooms of the house. The other is hooked up to the home theater amp. After installing “Music Assistant” I can play my favorite radio stations though Home Assistant.
Smart devices that don’t work well with Home Assistant
- Govee – I invested an a bunch of Govee smart plugs and thermometers. They are inexpensive and work well with the Govee phone app but I can’t get them to work with Home Assistant yet. There is a work around for a few of the Govee products but I don’t have those particular ones.
- Blink – I can see a few things like state, battery level but I can’t figure out how to get the Blink cameras to show a live video.